
Rigging… a word that sends shivers down the spine of anyone who's never dealt with the technical side of animation. Rigging can feel fiddly, convoluted, and difficult to understand. Throw in the odd bit of coding, and any casual virtual YouTuber would be put off. Lucky for you, technology has come a long way since the days of the proprietary software used to create the famous Kizuna Ai VTuber! New animation tools and software have made it increasingly easy to rig your VTuber model for basic animation. By the end of this tutorial, you'll know how to make your own character rigs and set your VTuber up for the animation style you desire. We cover how you can take your VTuber artwork or 3D model, create joints, set up bones, and ensure believable motion. Let's get started!
What is rigging for VTubers?
Rigging is the process of adding bones and joints to custom VTuber models so that they can move. These bones follow a standard human skeletal structure and are linked to move using Inverse Kinematics (IK). Your rig doesn’t have to be complex for the motion capture VTuber software uses. The trickiest part of rigging is often related to facial expressions and blendshapes.
.jpg)
2D vs 3D VTuber rigging
Creating anything in 2D is faster and often simpler than in 3D. But that isn’t enough to take 3D off the table. The choice between the two styles is down to:
- What style you want to achieve.
- The range of motion you want to give your avatar.
- Your technical ability.
- How much time you’re willing to spend on development.
2D VTubers character designs are almost only done in an anime style. Many VTubers who are new to the world of animation start with 2D, attracted by its simplicity and quick setup time. To build a 2D rig, you’ll need to use the software Live2D. Your 2D VTuber avatar will be able to move in two-dimensional space only. That means rotation of the head or other body parts is off the table.
.jpg)
3D VTuber models, in contrast, are more complex yet provide a much higher degree of freedom. Your character will mimic how you move and can even stand up. You can model and rig a VTuber from scratch using animation software like Autodesk Maya, but utilizing an avatar creator (such as Vroid Studio mentioned later in this tutorial) will provide you with a pre-built rig that requires minimal work.
Both types of animation rigs can be made for full-body movement or half-body animation, depending on your mocap software and tools. The simplest of rigs can be limited to just facial rigging to allow for the mouth and eyeball movement and some basic head, neck, and shoulder joints. No matter which rig you choose, building your character from scratch will give you full commercial usage of the avatar. But remember that rigging can take some time, so be sure you’re ready to spend more than a few hours working on getting it right.
How to turn a flat PSD file into a rigged Live2D VTuber model
Live2D is a 2D animation software that’s pretty simple to use once you’ve wrapped your head around the basics. To get started, you need to have already:
- Created or commissioned a VTuber character design in photoshop
- ‘Cut up’ or split your 2D drawing into layers (e.g., the right arm will be on a different layer to the torso). This isn’t as straightforward as you might think, so check out this tutorial to learn how to do it in detail.
.jpg)
Next, you’ll need to familiarize yourself with Live2D rigging. The setup will feel familiar if you’ve used other 2D animation programs. Some essential concepts unique to 2DLive are:
- Layers are called ‘textures.’
- You can rely on warp animations instead of laying down joints to make big movements.
- A nifty built-in tool for physics calculations called Live2D Cubism automatically adds motion to hair and accessories.
It’s wise to write a list of the animations you want to create, so you know what to focus on first. Typically you’ll want to include rigging for; each eye blink, up and down eyebrows movement, head tilt, arms and shoulders rotations, and hair dynamics. Check out the tutorial below for the ins and outs of rigging a Live2D model.
Once rigged, Live2D avatars can be imported into VTuber applications run off Steam, such as VUP or VTube Studio.
3D Rigging concepts: The difference between Unreal Engine and Animaze
3D models can be animated using a variety of different software. The main criteria is a renderer capable of a real-time output with minimal lag or jitter. Unreal Engine provides limitless possibilities, while Animaze has a gentler learning curve. For this reason, most professional VTubers opt for Unreal Engine. Think of Unreal Engine as the most comprehensive software for VTubing. Primarily, it’s what game developers use to render gameplay in real-time. This professional-grade software is perfectly suited to VTubing. With it, you get a vast amount of flexibility regarding motion capture, background development, and coded animation shortcuts. Unreal Engine paired with Rokoko’s SmartSuit Pro, Smartgloves and Face Capture allows Pixel Fire to live stream on youtube with a virtual character.
Unreal Engine is well documented, and you can find millions of Youtube videos to walk you through any scenario. To work in Unreal Engine, you must import your VTuber model as a .fbx file format. Rigging can occur inside or outside the software, depending on how you build your model. Software for VTubing includes popular Steam applications like Animaze, VUP, Wakaru, VeeSeeFace, and VMagicMirror. These tools can use your webcam to record simple mocap and are easier to use for non-3D artists.
You can create your avatar model within these programs to avoid rigging entirely. If you want to import a custom build, remember that your chosen VTubing software might have different rigging requirements. You can usually find guides on how to best rig your character from the documentation, such as this rigging guide from Animaze. Note: To import a model into these applications, you must use the .vrm file format and NOT a multi-purpose fbx file.
How to rig custom 3D VTuber avatars
Rigging a 3D character largely depends on three factors:
- In what software the VTuber avatar was built
- The software you want to use to broadcast your live stream
- The quality and range of animation (aka your motion capture tools).
For example, while some low-end tools can capture motion from your webcam, they won’t give you much range. Check out Rokoko’s SmartSuit Pro to see how mocap will upgrade your VTuber workflow. If you have an avatar already built-in 3D but without a rig, you will have to create a rig from scratch. You are looking to create a rig that’s compatible with motion capture. One quick solution is using an auto-rig plugin like Mixamo.
If rigging isn’t up your alley, consider hiring an animator to add the rig. Price ranges depend on your rig's complexity, but some artists might offer you payment plans or hourly rates. The best places to find such services are on sites like CGHero, Upwork, or Fiverr. Here’s the good news; if you’ve used one of the below software to build your character, you already have a rig! Rather than the actual act of creating a rig, all you need to do is connect everything up in Unreal Engine. Check out the individual tutorials below for more detail.
How to rig VTubers built using VRoid Studio
VRoid is exceptionally easy to use and is a favorite of VTuber model artists. In particular, it excels at creating anime VTubers. You start with a simple base avatar and can create unlimited custom models using a slider system. On the VTuber market, you can also find pre-built elements that are quick to import. VRoid Studio does, however, come with one minor drawback for rigging: ARKit Blendshapes are omitted. This isn’t too much of an issue, as you can purchase them from a third party for about $10. Here’s a tutorial on how to rig and install the blendshapes using Unreal.
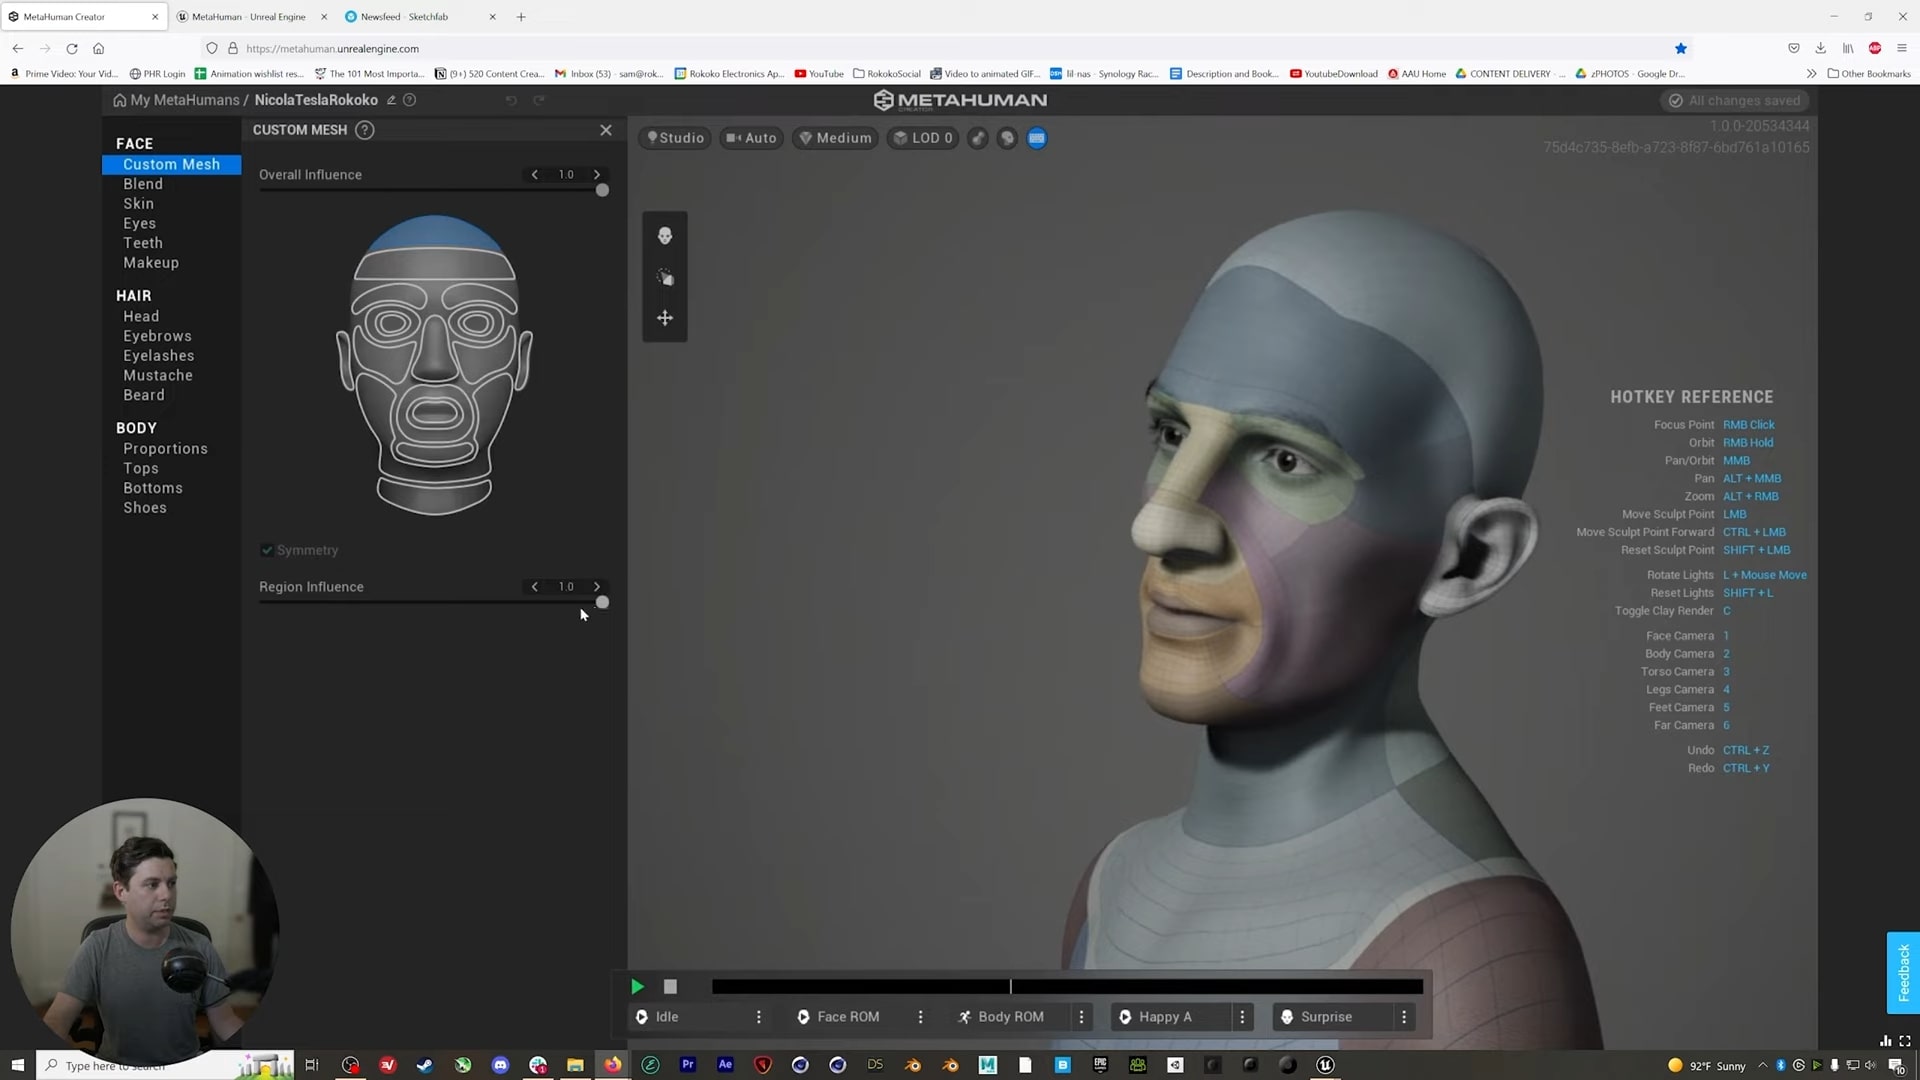
How to rig VTubers built using MetaHuman
Metahuman is a realistic avatar builder that allows you to make virtual humans. The rig is easily opened in Unreal and requires minimal effort to adapt. You only need to snap the character into a T-Pose before following your usual motion capture workflow. Here’s a quick tutorial on powering MetaHumans with Rokoko motion capture tools.
How to rig VTubers built using Daz3D
Daz3D models have a prebuilt rig that imports into Unreal with no issues. However, remember that gen 8.1 figures are the only models with access to the built-in ARKit blendshapes (a pre-requisite for facial animation). On export, you have to enable morphs, select ARKit, and you’re done. Check out this tutorial for the entire workflow.
How to retarget VTubing characters in Blender, Maya, Unreal Engine, Cinema 4D and iClone
If you want to learn how to retarget characters in the most widely used 3D software out there, Rokoko's creative Director Sam Lazarus put together in-depth tutorials for retargeting in Blender, Maya, Unreal Engine, Cinema 4D and iClone, you can find the playlist here.
What’s next after you’ve rigged your VTuber?
After rigging, all that's left is to connect your VTuber to a motion capture solution, open up broadcasting software like OBS, and start live streaming on your social media accounts. Want more? Learn how to create the best VTuber setup here.
Frequently asked questions

.jpg)

Book a personal demonstration
Schedule a free personal Zoom demo with our team, we'll show you how our mocap tools work and answer all your questions.
Product Specialists Francesco and Paulina host Zoom demos from the Copenhagen office


