Dimitar Drew's Rokoko, DAZ 3D, Blender & Marvelous Designer workflow breakdown
Follow along Dimitar Drew's process to create his animation render entry for the "Love at first move" animation challenge competition, with judges Sam Lazarus, Peter France, Jonathan Winbush and Landis Fields.
Below, please find a transcript of Dimitar's video tutorial. Enjoy!
Introduction (00:12)
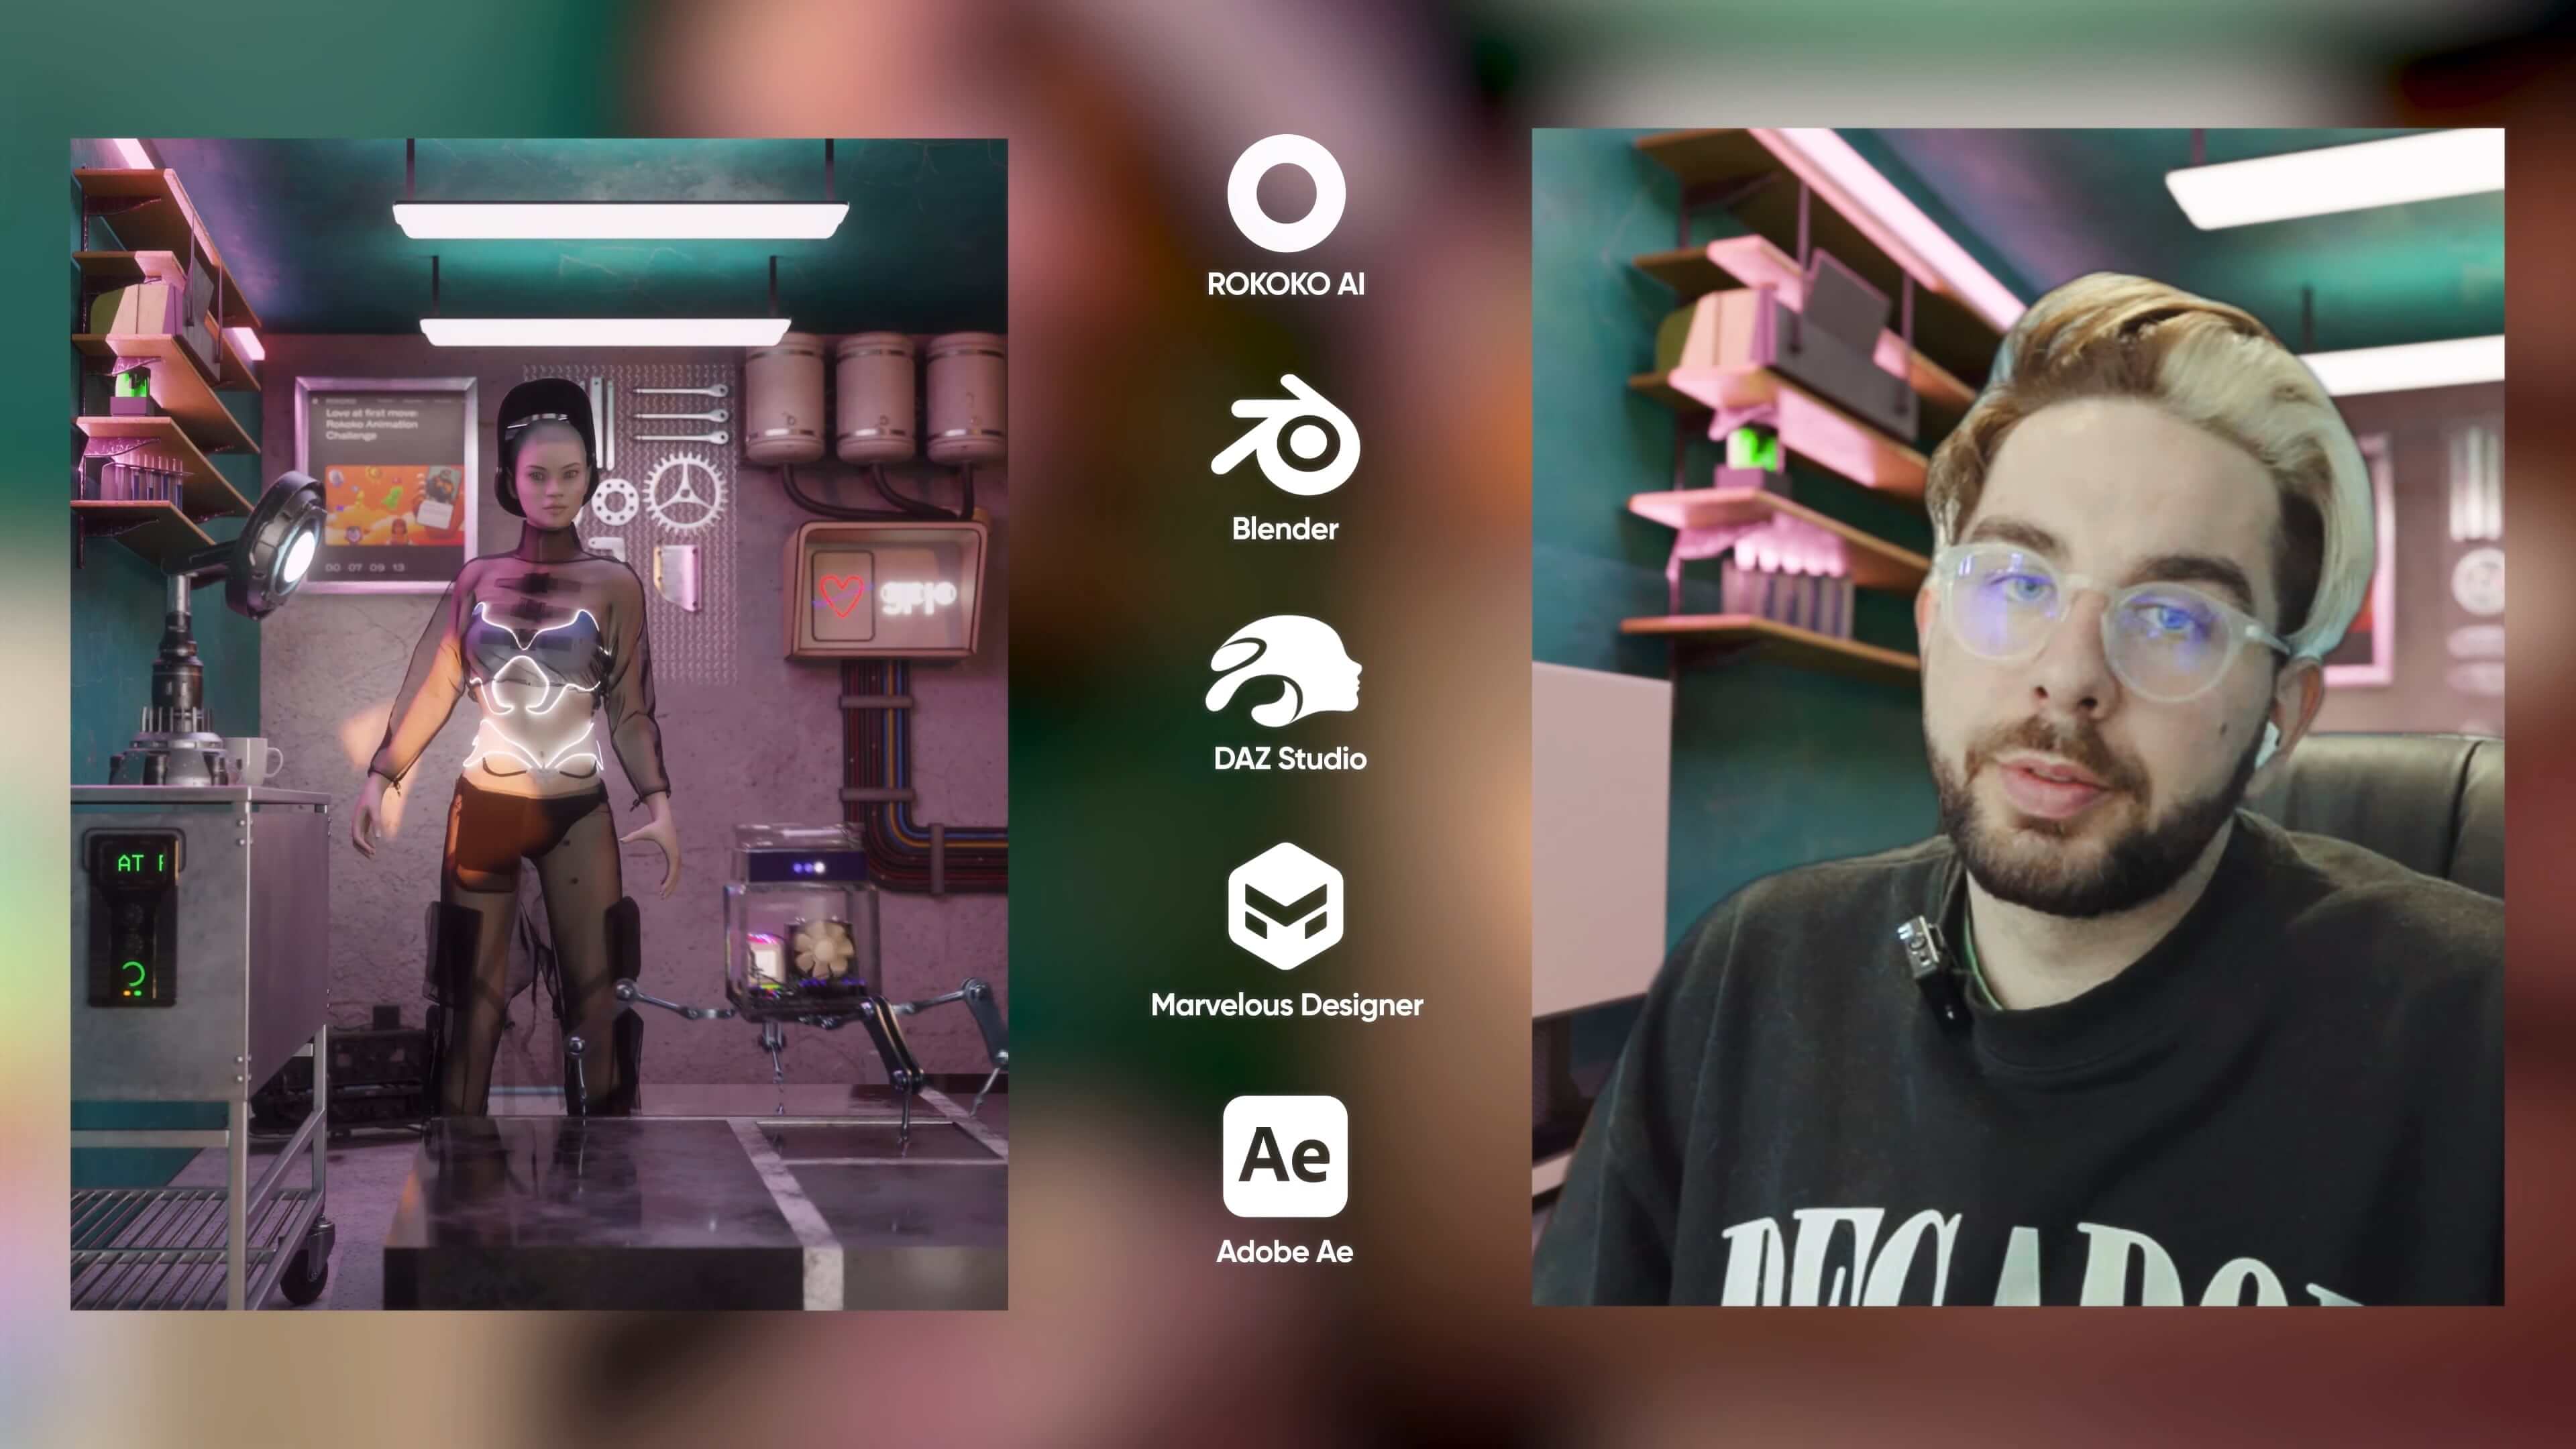
Hello humans. In this video I'll guide you through a process of I created my submission for the "Love at First Move Challenge" by Rokoko, from creating an AI animation to character creation, retargeting, clothing, compositing, and even this cute little robot.
Links to tools and assets mentioned in this tutorial are listed at the bottom of this page.
Creating and retargeting an animation with Rokoko AI (00:24)
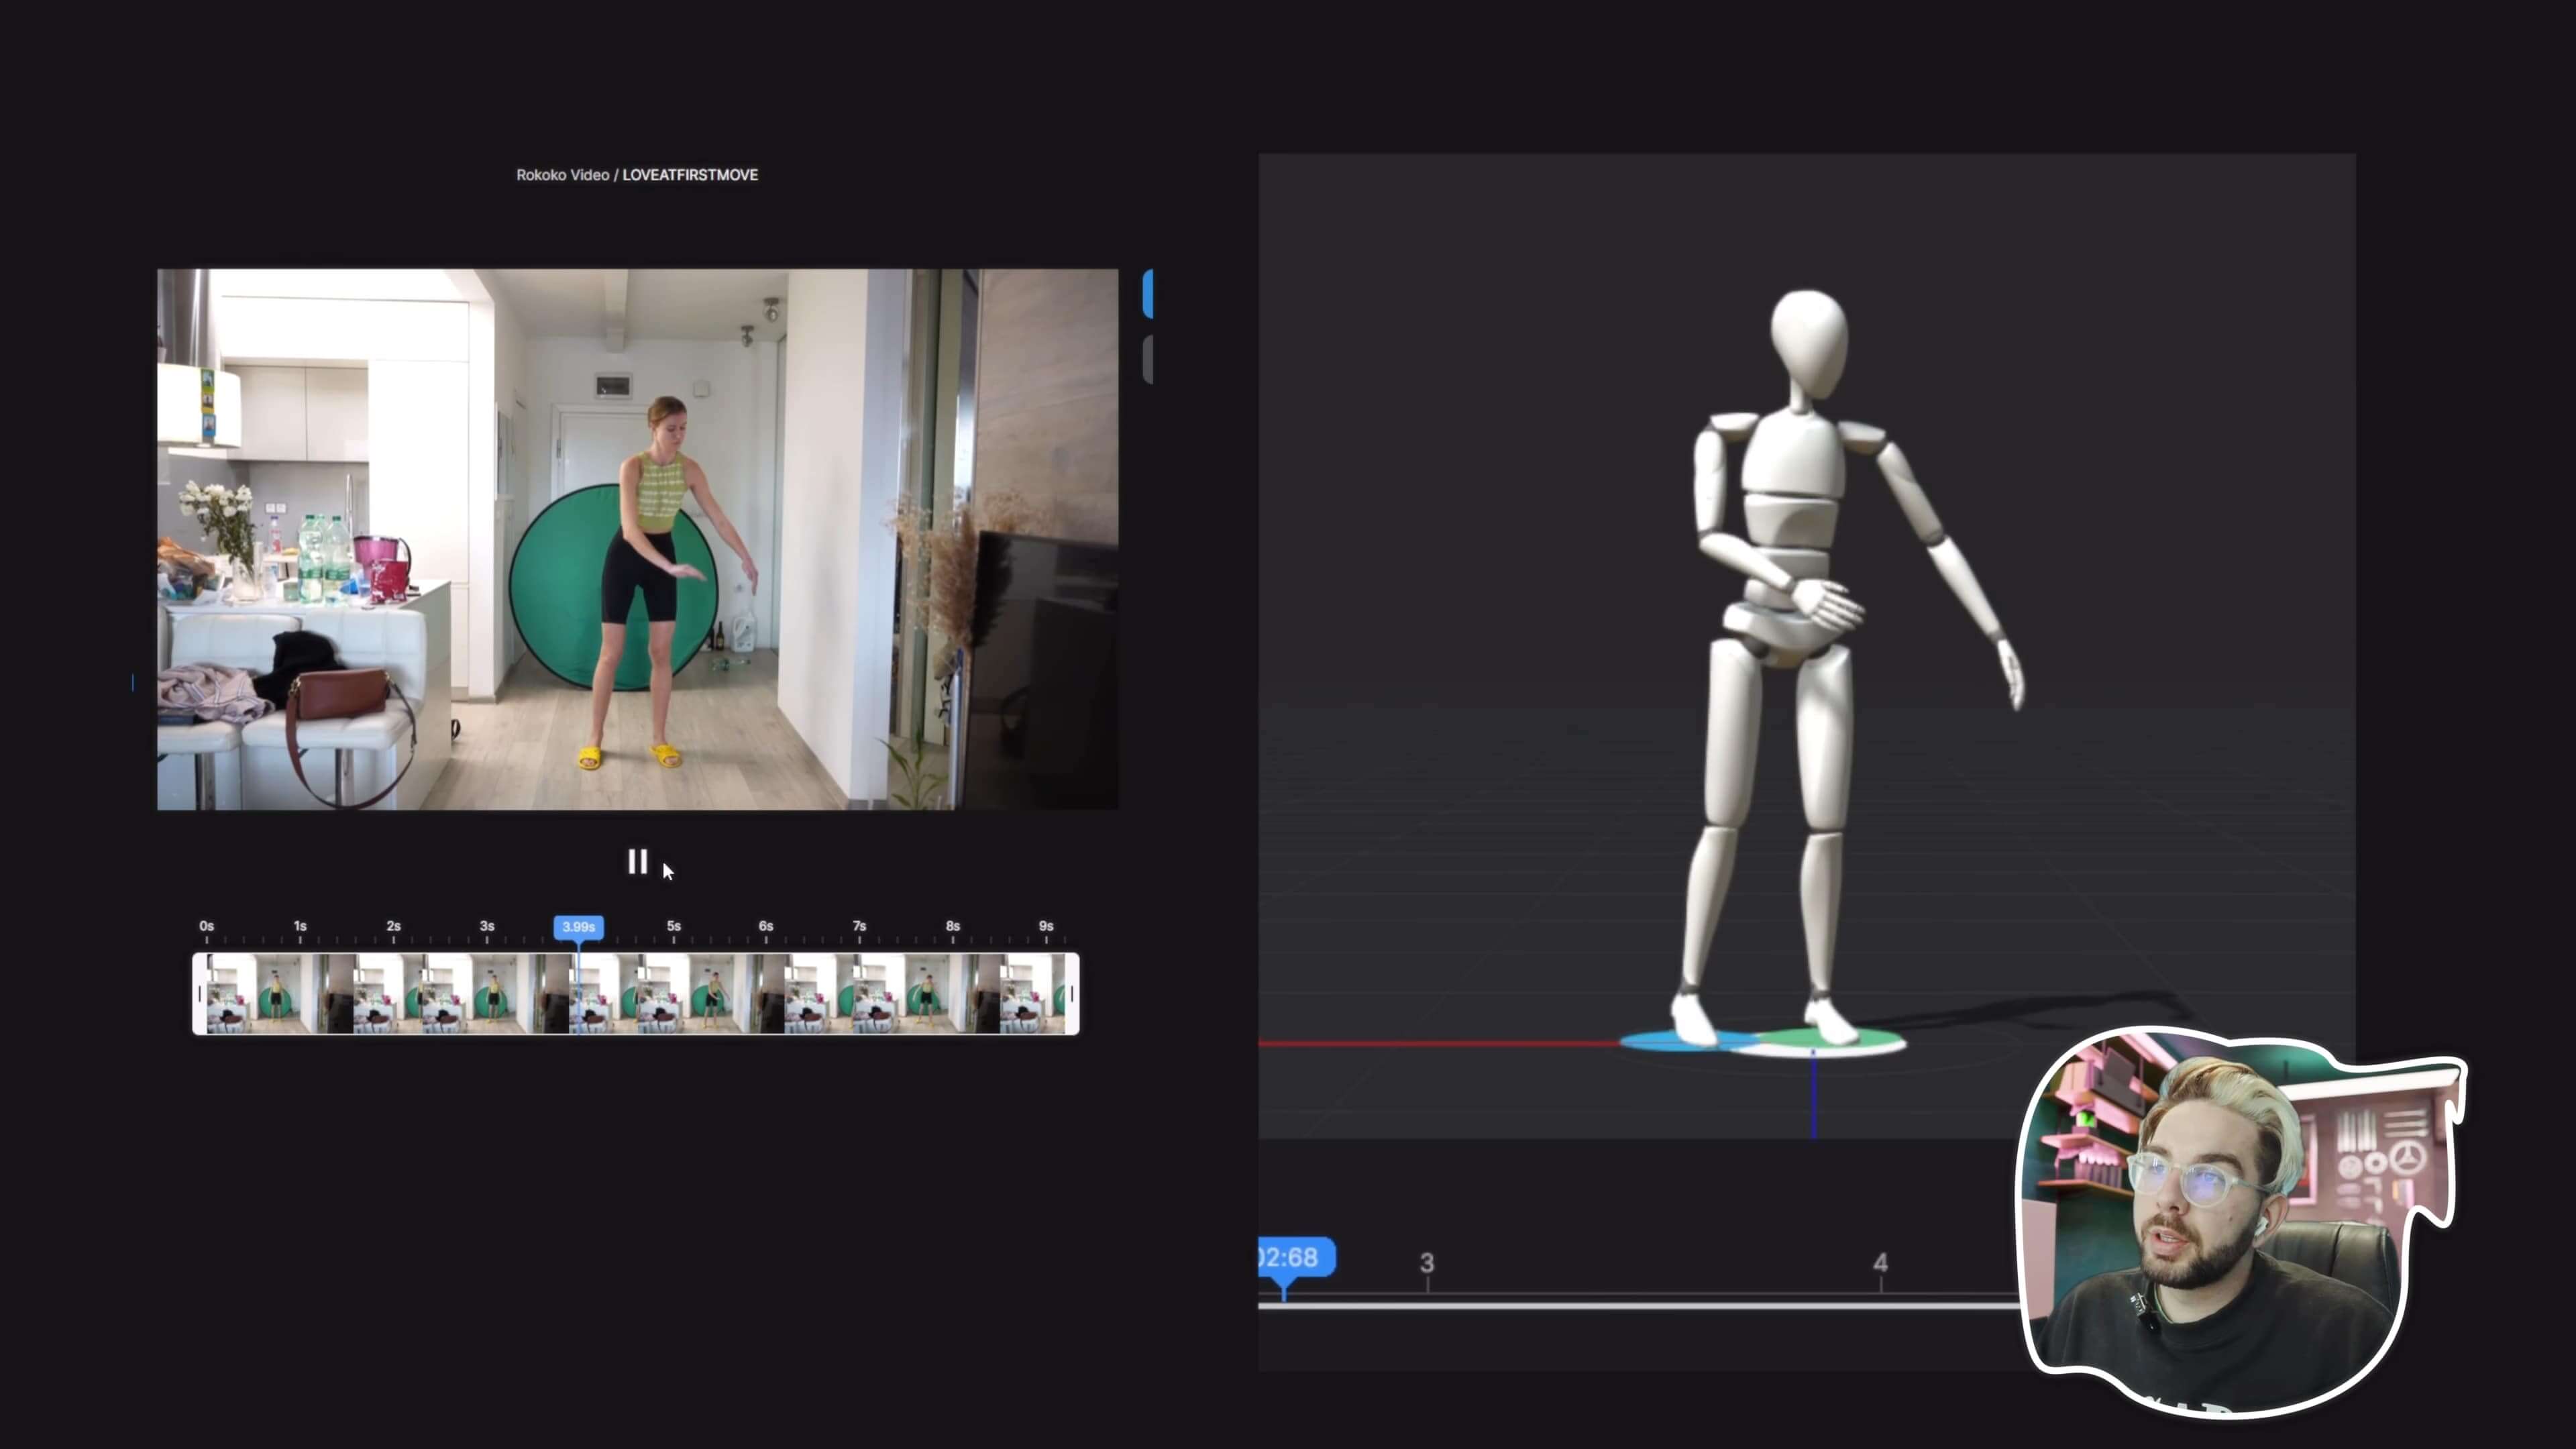
First we're gonna go to rokoko.com/products/video and you're gonna click on the button "try out free ai mocap". After that, go ahead and click on "Create new scene" and name your scene. You can record straight from your webcam or choose a local file that you shot already. Drag and drop the clip of your choice. It can be horizontal, vertical. You can even grab a dancing video from your favorite dancer. Of course, acknowledging the artist. Trim your file and hit turn into animation while waiting for the clip to upload, download Rokoko Studio. Down below you see "animation clip has been created". When you open Rokoko Studio, you're going to see the scene that you've created earlier. Double click on the new recording and preview your animation. Whenever you're happy with your animation on the right side, go ahead and hit "export clips". What worked best for me was an FBX file format with a Mixamo skeleton preset.
DAZ Studio character export to Blender (01:07)
.jpg)
Go to Blender > file > import fbx, and before you click "import fbx", make sure you go to armature and click "Automatic Bone Orientation". Your animation is ready to be retargeted to a character of your choice. I chose DAZ Studio for my character since it has a lot of character preset packs that you can modify to your liking. I do not use DAZ that, so I won't be going into detail how I got to this character except a couple of important steps that I went through. For this one, I use the original DAZ to Blender plugin. Install DAZ Central, log in and click on "install DAZ to Blender Bridge".
Whenever installed, go select your character and go to file > "Send to DAZ to Blender". On the popup, you click on "advanced settings" and choose your Blender version or click "custom addon path" and navigate to your version. Leave everything else as is and click "Accept".
Open Blender, go to "edit preferences addon" and search for DAZ to Blender plugin and click on it. On the right side menu, click and open navigate the add-on named DAZ to Blender and click import figure and bam: your character is transferred.
For retargeting I use two plugins, the Rokoko plugin and another plug-in called Cats. All the plug-ins are linked in at the bottom of this page. Once you install them, edit preferences add-ons for Rokoko and Cats, this time you should have the armature animation from Rokoko and the character from DAZ 3D.
First you have to fix the rest pulse of your desk character. Go into pose mode and adjust your character to a T-pose, fixing mainly the hands, wrist, thumbs, and legs closely to the rest pose of the Rokoko armature animation. When ready, go to the Cats plugin and click apply as rest pose. And when you see this glitch of random objects showing up, that means it worked and just delete those, I have no clue why they show up. After that navigator or Rokoko plugin, click on "retargeting". Go to the source and choose your animation. And your target is the Genesis character. Click the "Build Bone" list and make sure all bones are placed correctly. Click "Retarget animation" and voila, you successfully retargeted your animation. There is a plugin called "Animation Layers" that is my favorite saver of key frame cleanup and only costs around twenty-ish dollars. I don't like the Blender NLA editor, it has so many issues.
Once you install animation layers, select your armature and click "turn on animation". Hitting on the "+" sign, you see base layer and anim layer. The base layer represents your animation that you have so far, and the other one is the animation you want to add on top. Let's fix the posture of my character a bit. I just make sure I turn on automatic key frame when doing this because it's way faster and easier. Additional to that, you can also key frame the influence of each layer, which is very cool. This way you can add as much layers on top as you want. For example, let's say I want to add one more called the "hands layer", for smal hand adjustments, fingers and so on. After that, you can go ahead and click "Bake Operation" and merge all the key frames from all layers. Marvelous.
Marvelous Designer clothing arrangement (03:46)
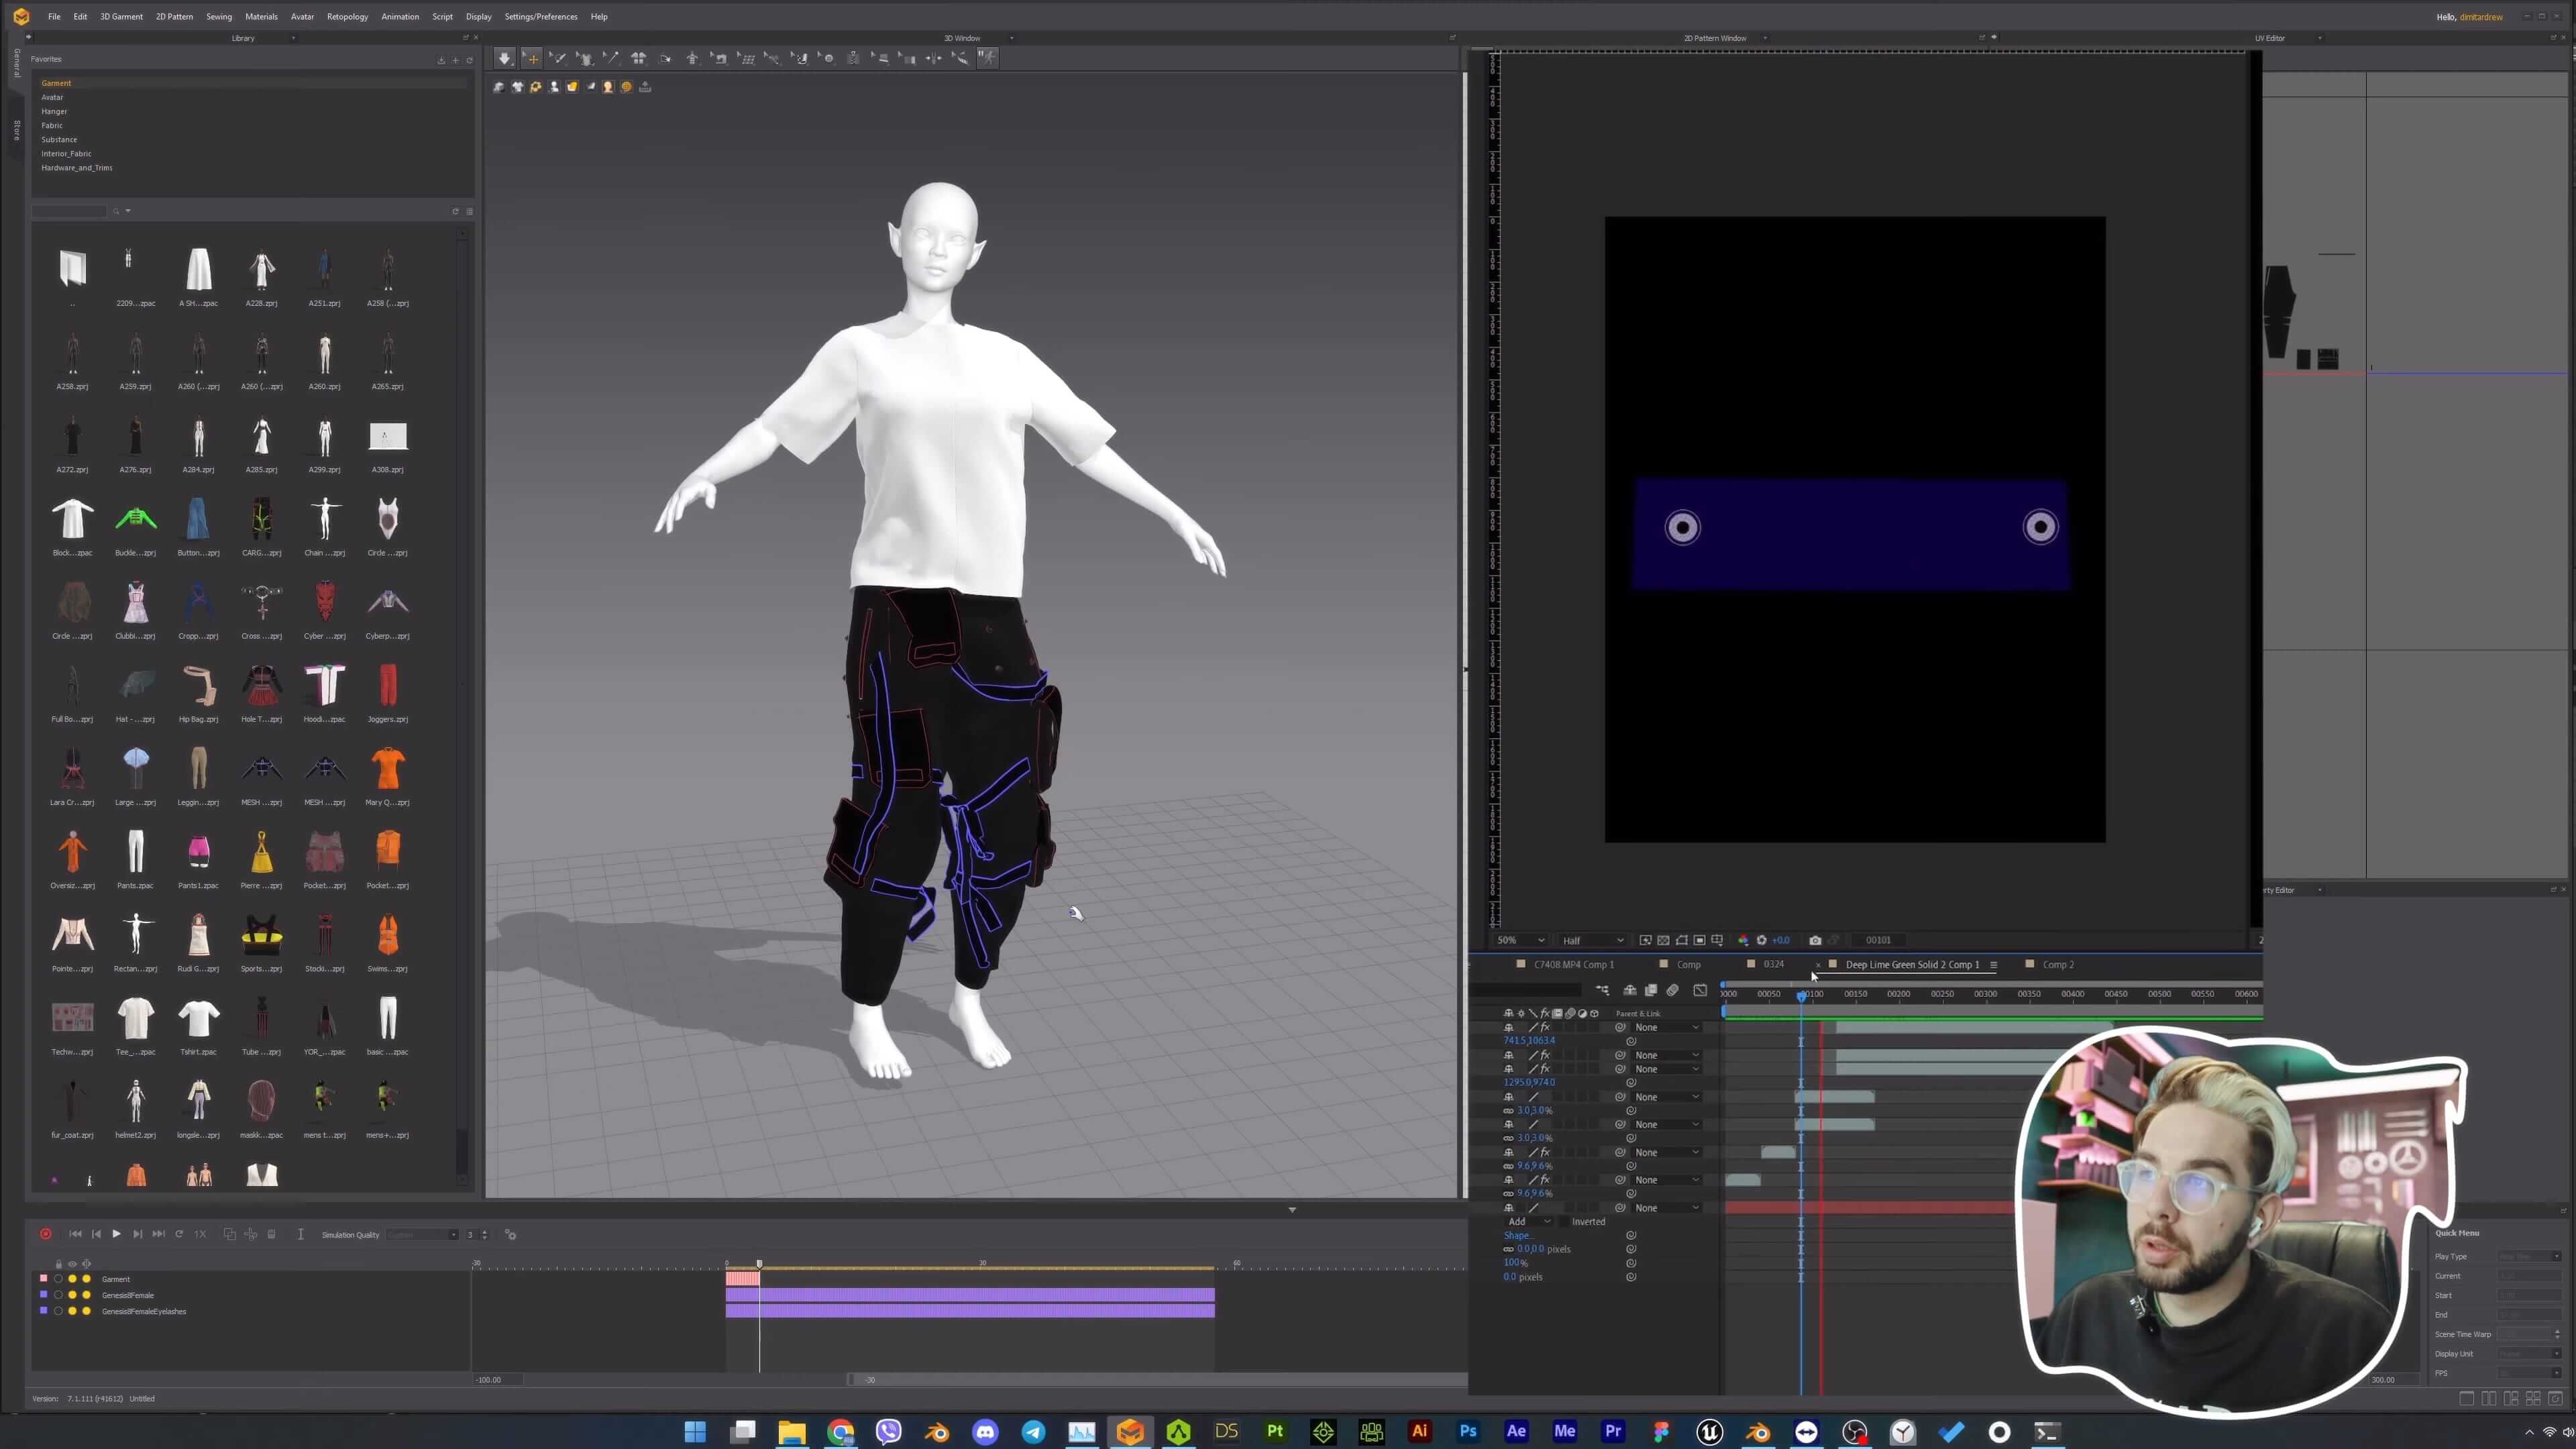
It's time to put some clothes on your character. Whenever you're happy with your animation, go to file > Export > Alembic. Once you're in Marvelous Designer and go to File > Alembic and change the scale to meters. This way, your character is gonna be with appropriate proportion and it's not gonna be super tiny or super big and it just works for me.
On the bottom you see an arrow to open up the animation tab, go to bottom right and change the settings from frame stepping to real time. This way your animation will play smoothly and not like something crazy like that. There are many free garments in the asset store that you can find or make your own. Before you choose your garment, you click on this icon and click create fitting suit. You start by giving three points to each part, showing in the guidelines supper and lower neck, waist, wrists, and so on.
99% of the time your characters is in a T-pose will be completely symmetrical, but right now I exported mine and it's not. So it's a perfect case to show you that here you can uncheck symmetry and finish the guide and click apply. If your character is fitted with this red body suit and nothing major is out of proportion outside of this suit, you're good to go and click save.
For the bottom, I chose those cargo pants and just drag and drop them into the scene and click add. Now go to that same icon and click retarget draping and wait for it to load. Voila, it automatically fits your character. The first simulating go and check "fast with GPU" for a fast simulation results, same goes for the top, add your garment and click retarget draping. Click simulate again or space bar and fix the two garments by pulling on the parts with issues.
I sometimes have issues with retargeting draping on the two garments together, so I do it one by one and also it doesn't work every time. And I had a lot of troubleshooting here. Whenever when you're done with putting your garments on the character, my animation from the character disappears, so just delete my character and add the Alembic file once again. But make sure the clothes are not in simulation before you delete it because they're gonna fall off. Once added again, when you hit play, nothing happens. Go at frame one and hit record. If you have a more complicated garment with a longer, bigger movement, make sure to increase the simulation quality for better simulation. This way, the garment won't stick to each other and it's not gonna cause any weird issues. If we're going to export, make sure your uvs from the garments align in one square.
There are two methods of exporting. The first one is by selecting everything. File > export > Alembic > Ogawa, hop in blender file import > Alembic. Make sure to check smooth because it just works a bit better To import texture, go to material, make new material, make sure that the "No Wrangler" plugin is turned on. Head control shift + T and select all textures created from the Alembic file. And you're good to go. This way, the textures to all your clothing are not assigned.
You go back to marvelous and export the exact same thing as OBJ and check select all avatars and hit okay. Go back to blender and import your OBJ and add the mesh sequence, cache modifier. For the file path, choose the Alembic file that we exported earlier, and for the object path it just choose the only option that is visible there. You see that the important garment will change its position, but don't worry, just align it back with 90 degrees.
I just hit GR and minus 90. Everything in this method is the same except now all materials are assigned and visible to each part of your garment. Since the cargo pants have thousands of materials, it's really hard to find which material goes where. Just go to edit mode than select the vertices. For the material, you want to change something and it's going to be highlighted. Now change the material to whatever you like. For example, this cool cloth UV material from the plugin of real time materials of Ducky 3D.
Rigging, compositing, and finalization of the scene (07:02)
.jpg)
Time to make the environment of your character. I wanted my character to be one of those fancy pet groomers that makes the dog all polished and fluffy and do all those things to the pets, but in a cyber punky way. So I made a pet grooming shop for cyber pets. I KitBash3D whatever you see behind me on this background, it's a little bit of tools, some piping, and also on this poster behind me, you can see that I have like 80 hours on the deadline and I was not ready yet. So that's what I put as well. Pretty simple set.
So I've modeled and rigged this puppy from Polyflor mechanical creatures pack with the idea of adding PC components inside with a small, cute face, which I've animated in Afte Effects.
That's it for this, sir. Use Rokoko AI motion capture, with this powerful tool you can quickly and easily capture realistic motion for your projects. Thanks for watching!
Useful links
Frequently asked questions
Read more inspiring stories


Book a personal demonstration
Schedule a free personal Zoom demo with our team, we'll show you how our mocap tools work and answer all your questions.
Product Specialists Francesco and Paulina host Zoom demos from the Copenhagen office


